
Halloween Cat Cupcakes
 |
 |

Dressing your pet up for Halloween is all the rage these days, but while some don’t mind, I think most cats would probably prefer wearing their birthday suits! Don’t fret because you can still celebrate Halloween and express your love of cats without stressing your cat out with our Halloween cat cupcakes project! It’s really easy and lots of fun!
What you’ll need
-
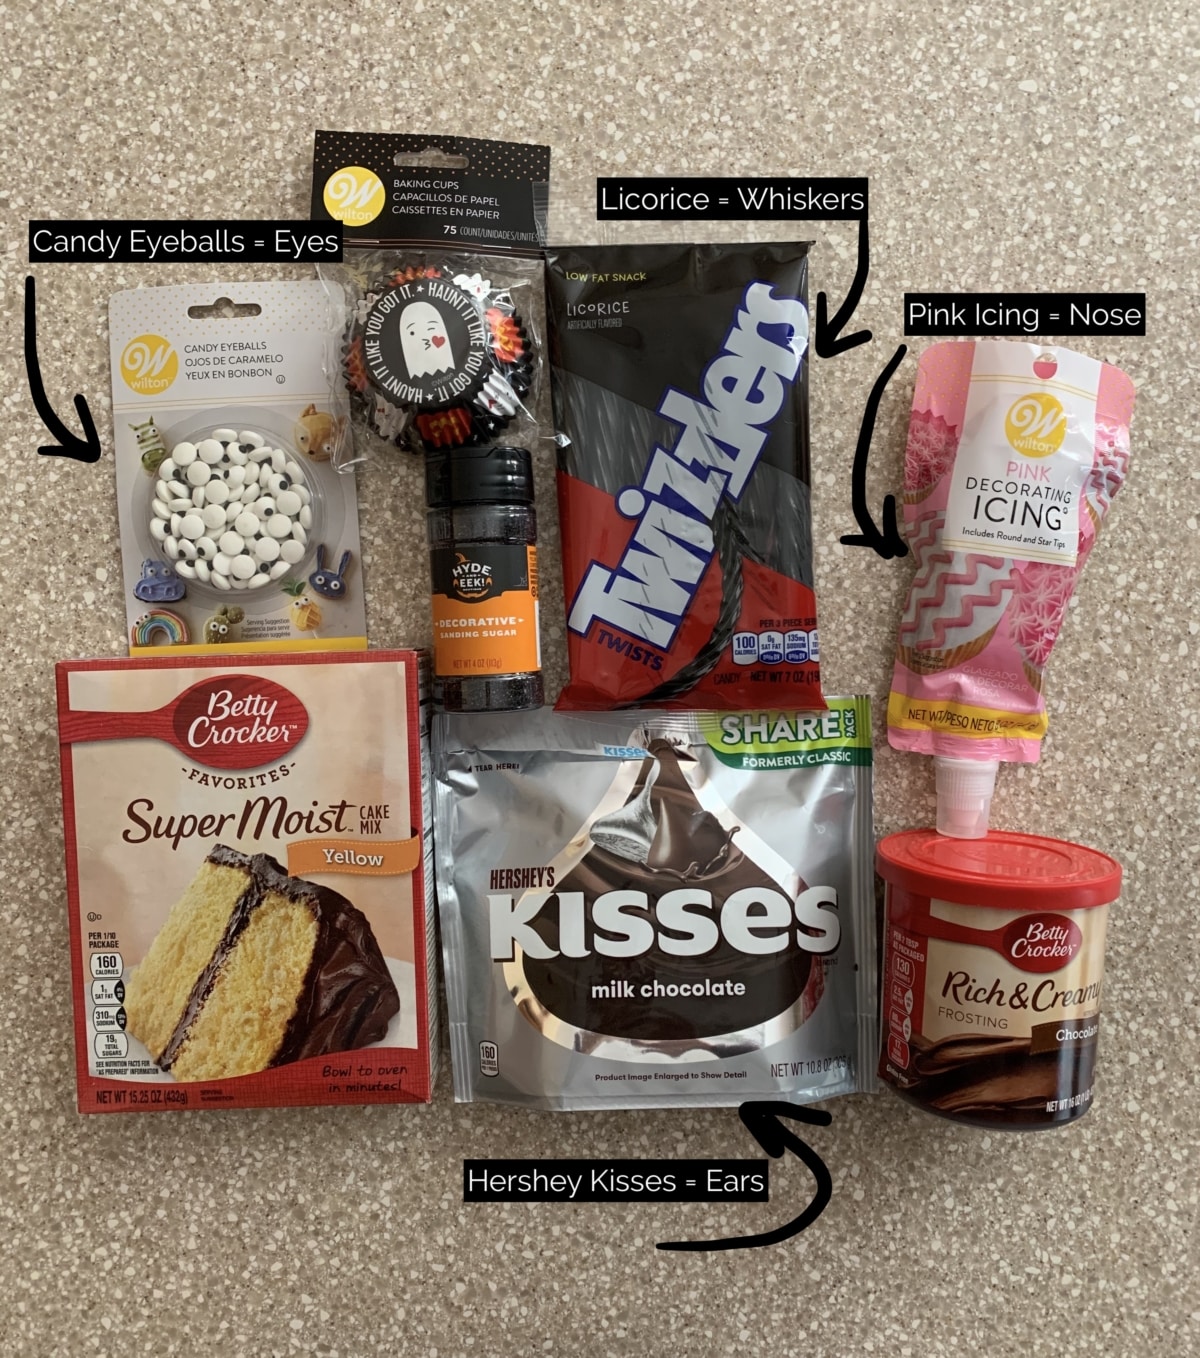
Box of vanilla or yellow cake mix – we love Betty Crocker’s Super Moist Cake Mix. It’s a classic and it’s only $1 on Amazon
-
Chocolate Frosting – We chose Betty Crocker’s chocolate icing but Duncan Hines is good too!
-
Candy eyeballs – We chose Wilton candy eyeballs as they’re a leader in baking supplies and they offer a variety of sizes.
-
Pink icing – We chose Wilton pink icing in a pouch BUT we wanted to use candy heart sprinkles for the nose but sadly we couldn’t find any! If you can, use candy hearts instead.
-
Black licorice works well for the whiskers – we used Twizzlers black licorice
-
Chocolate kisses make purrfect ears! We used the iconic Hershey’s chocolate kisses.
-
Cupcake tin – if you don’t have a cupcake tin, try Rachel Ray’s cupcake tin with handy grips!
-
Cupcake liners – there are so many cute Halloween cupcake liners – choose what speaks to you!
-
Optional – If you want to add some sparkle to your kitty cupcakes, we liked the black sanding sugar by Wilton. We also tried orange, but didn’t like how it turned out.
-
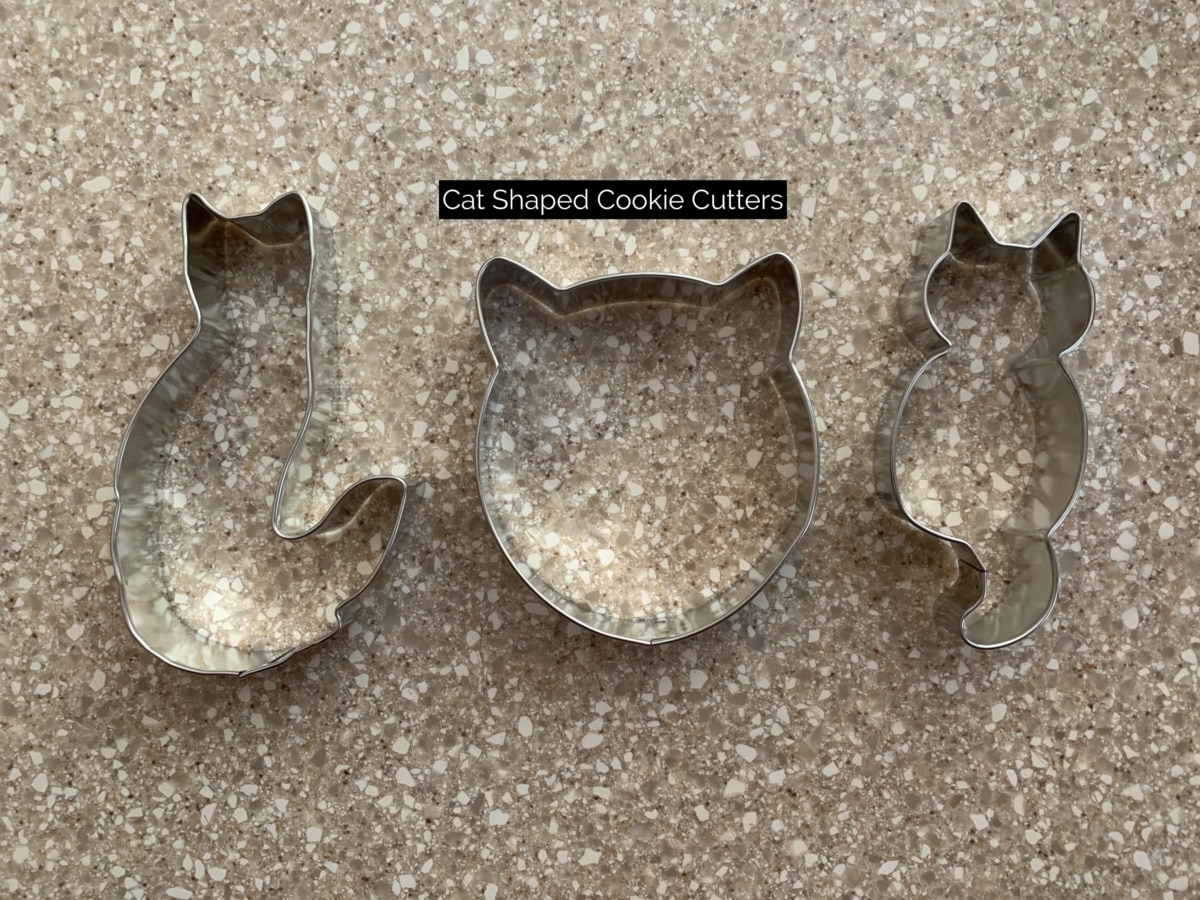
Optional – Cat Cookie Cutters. If you want to try to make cat-shaped cakes, try using these cookie cutters. We found that the less small details, the better (think about a cutter like this one).
Let’s do this!
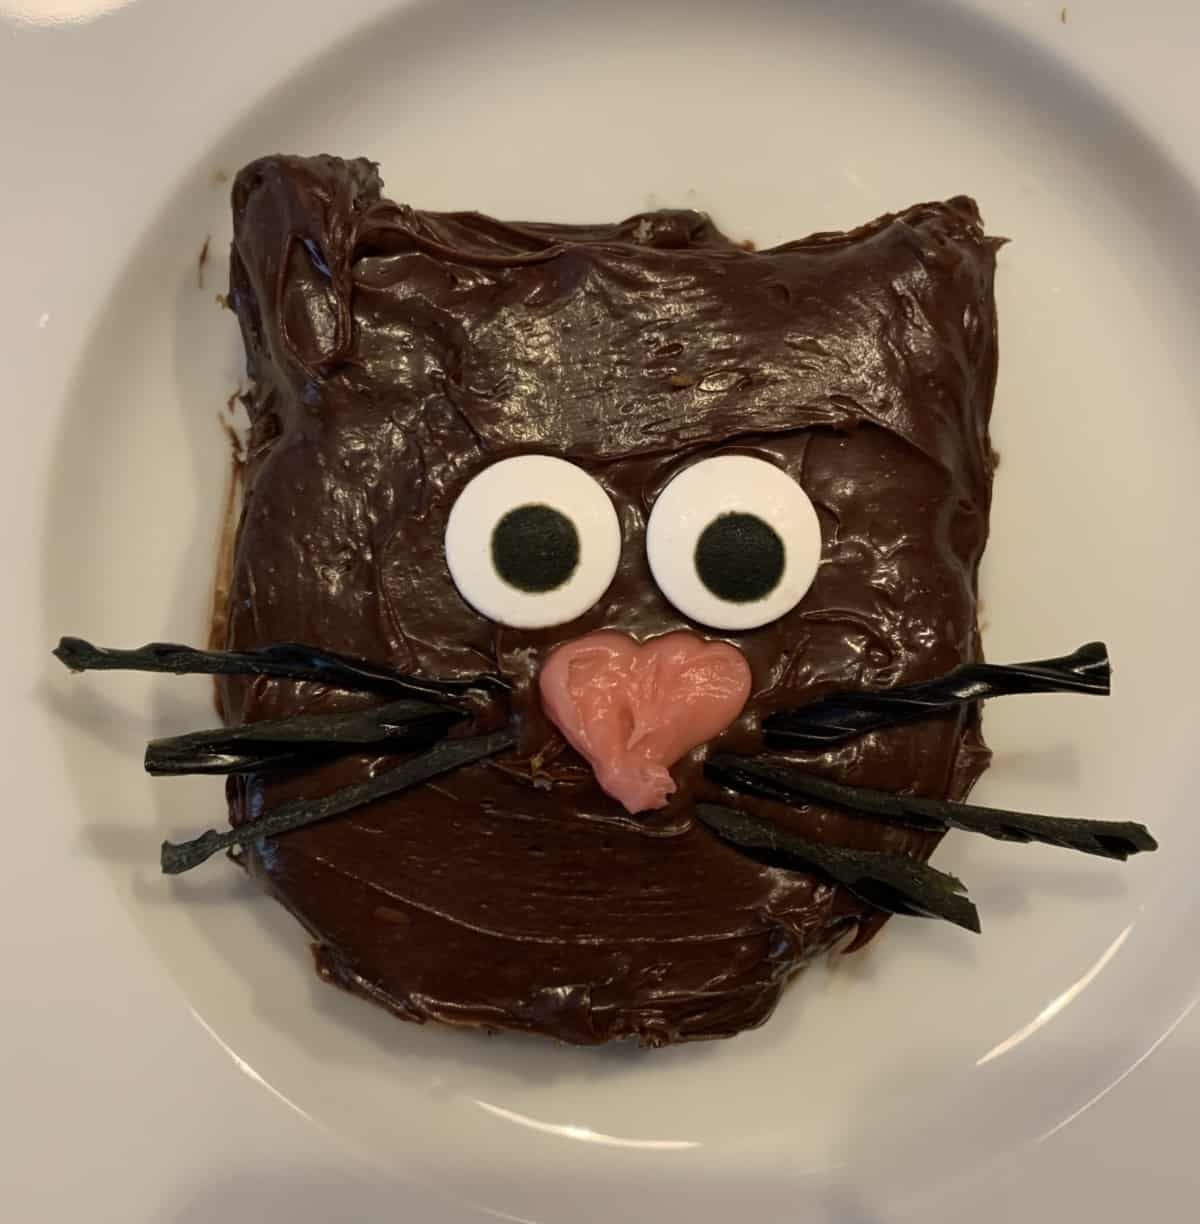
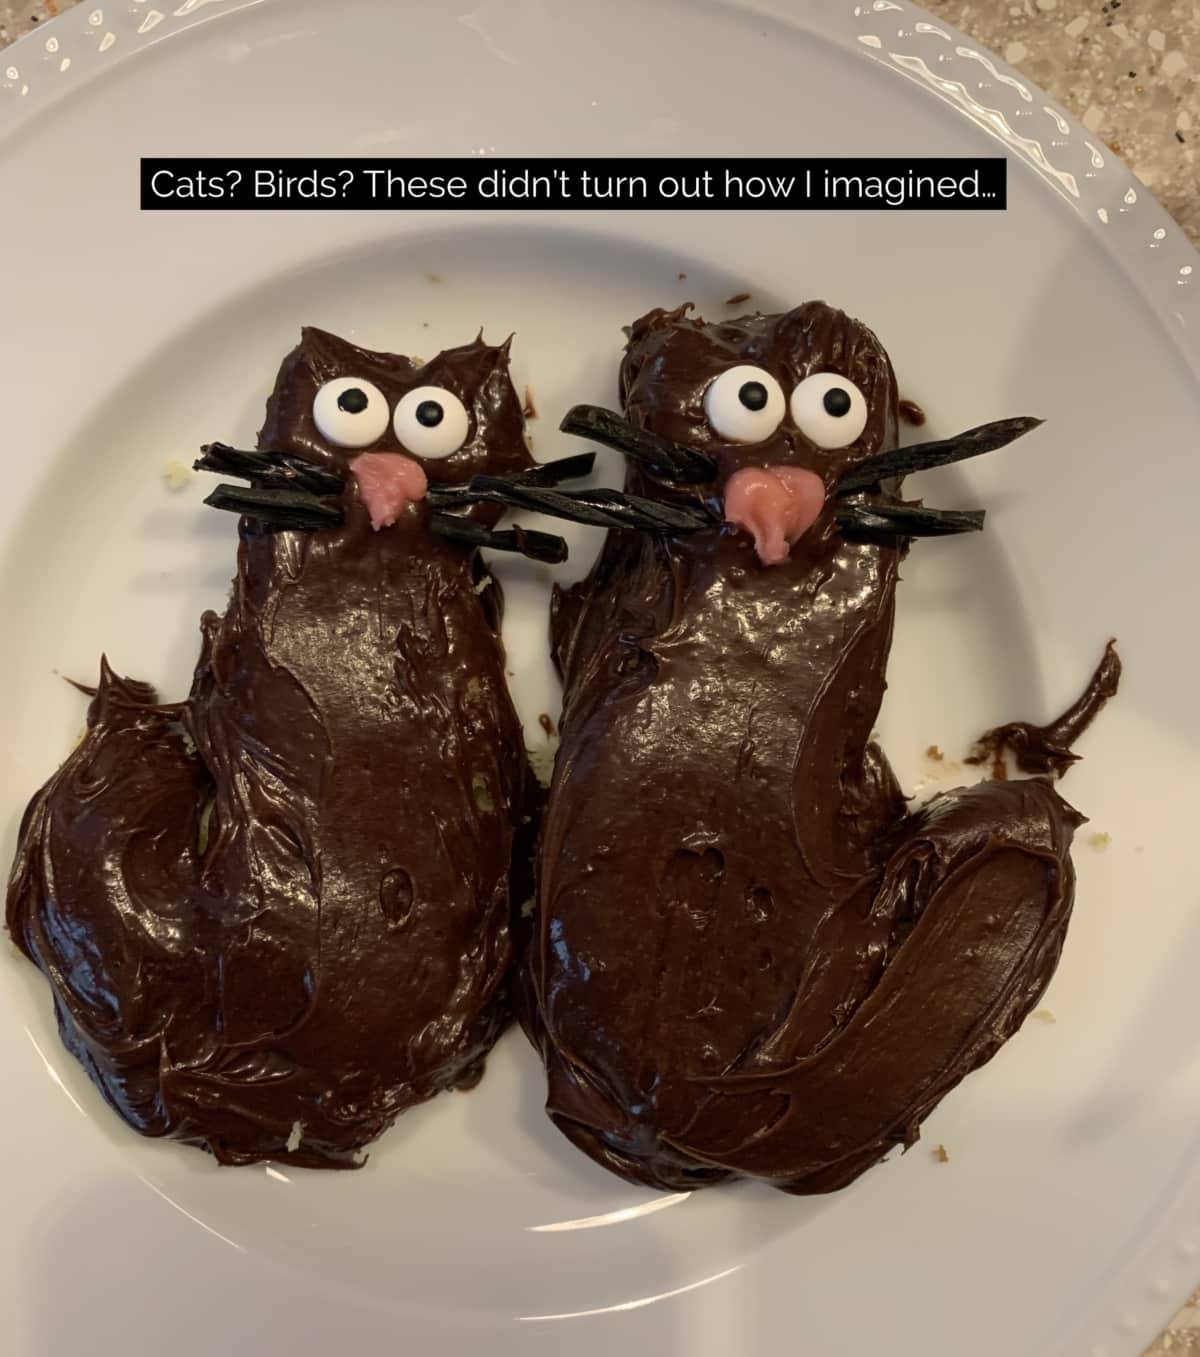
For our cat-themed Halloween festivities, we tried to do both cupcakes and some mini cat-shaped cakes. All-in-all, I think the cat cupcakes turned out the best. The mini kitty cakes are cute – particularly the one that is just the cat’s head. The full-body cat cakes didn’t turn out as well because there was too much detail in the ears and tail making it difficult to remove the cake from the forms without breaking… and the tiny details were hard to ice as well.
For the cupcakes…
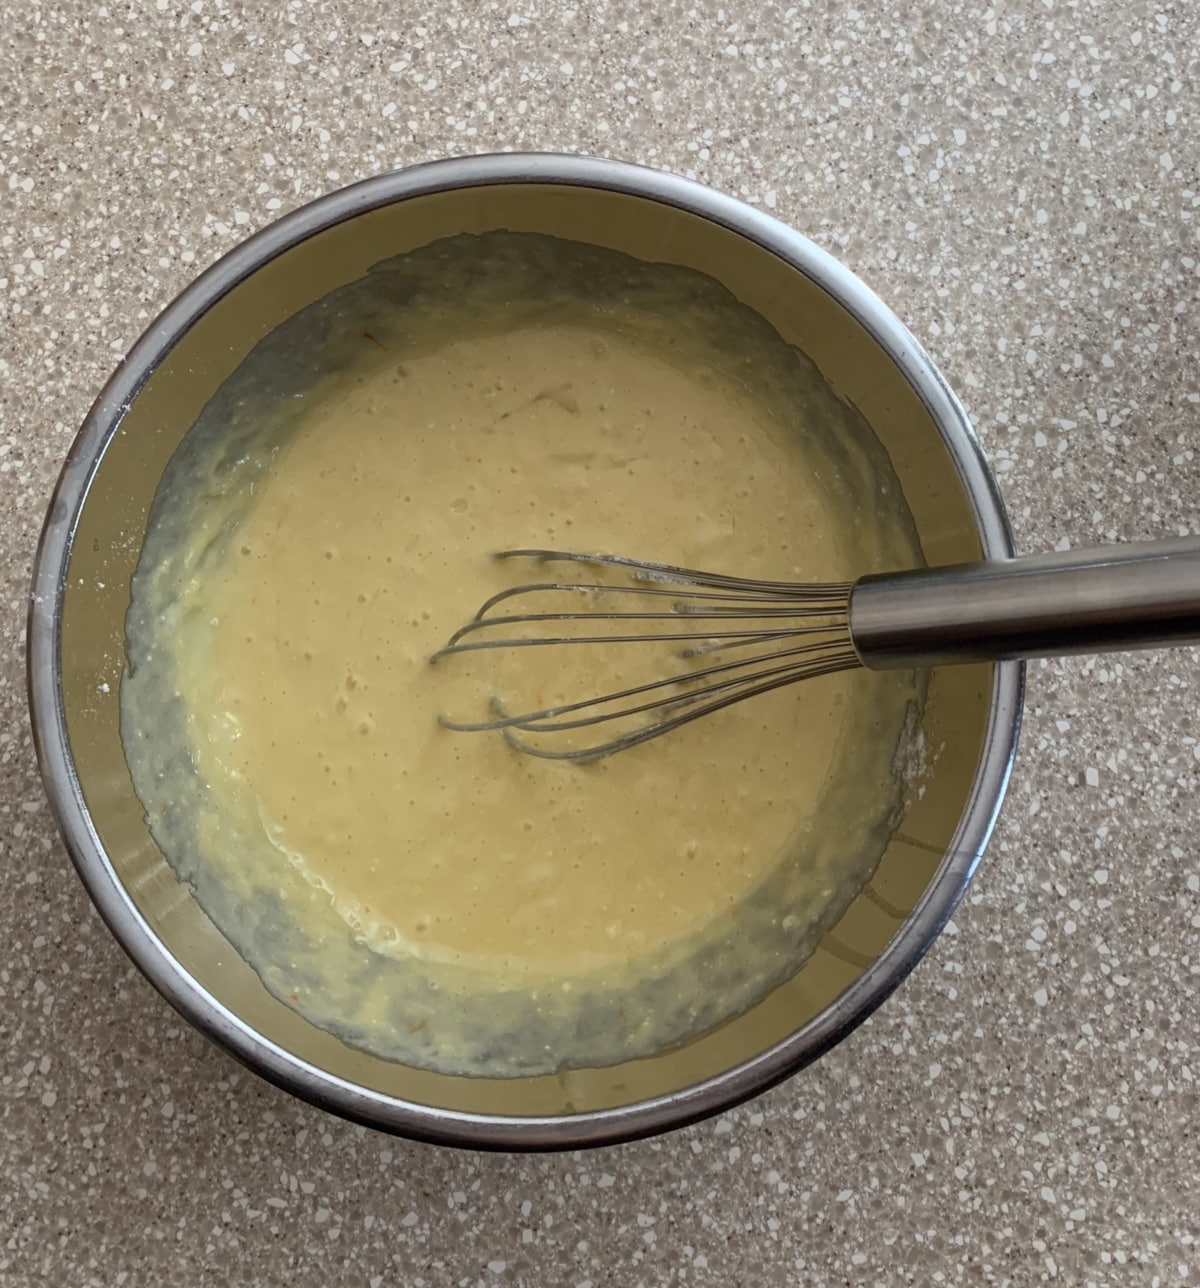
- Make the cupcakes according the directions on the box
- Line the cupcake tins with the cupcake liners
- Fill each liner to 2/3 full and follow the baking instructions on the box (usually about 12-17 minutes bake time)
- Let cool completely so that the icing and decorations don’t melt
- Once cool, ice the cupcakes with the chocolate icing
- Decorate! (see below)
For the mini cat cakes…
- Make the cake according to the directions on the box
- Line a jelly roll pan (or cookie pan with sides) with parchment paper
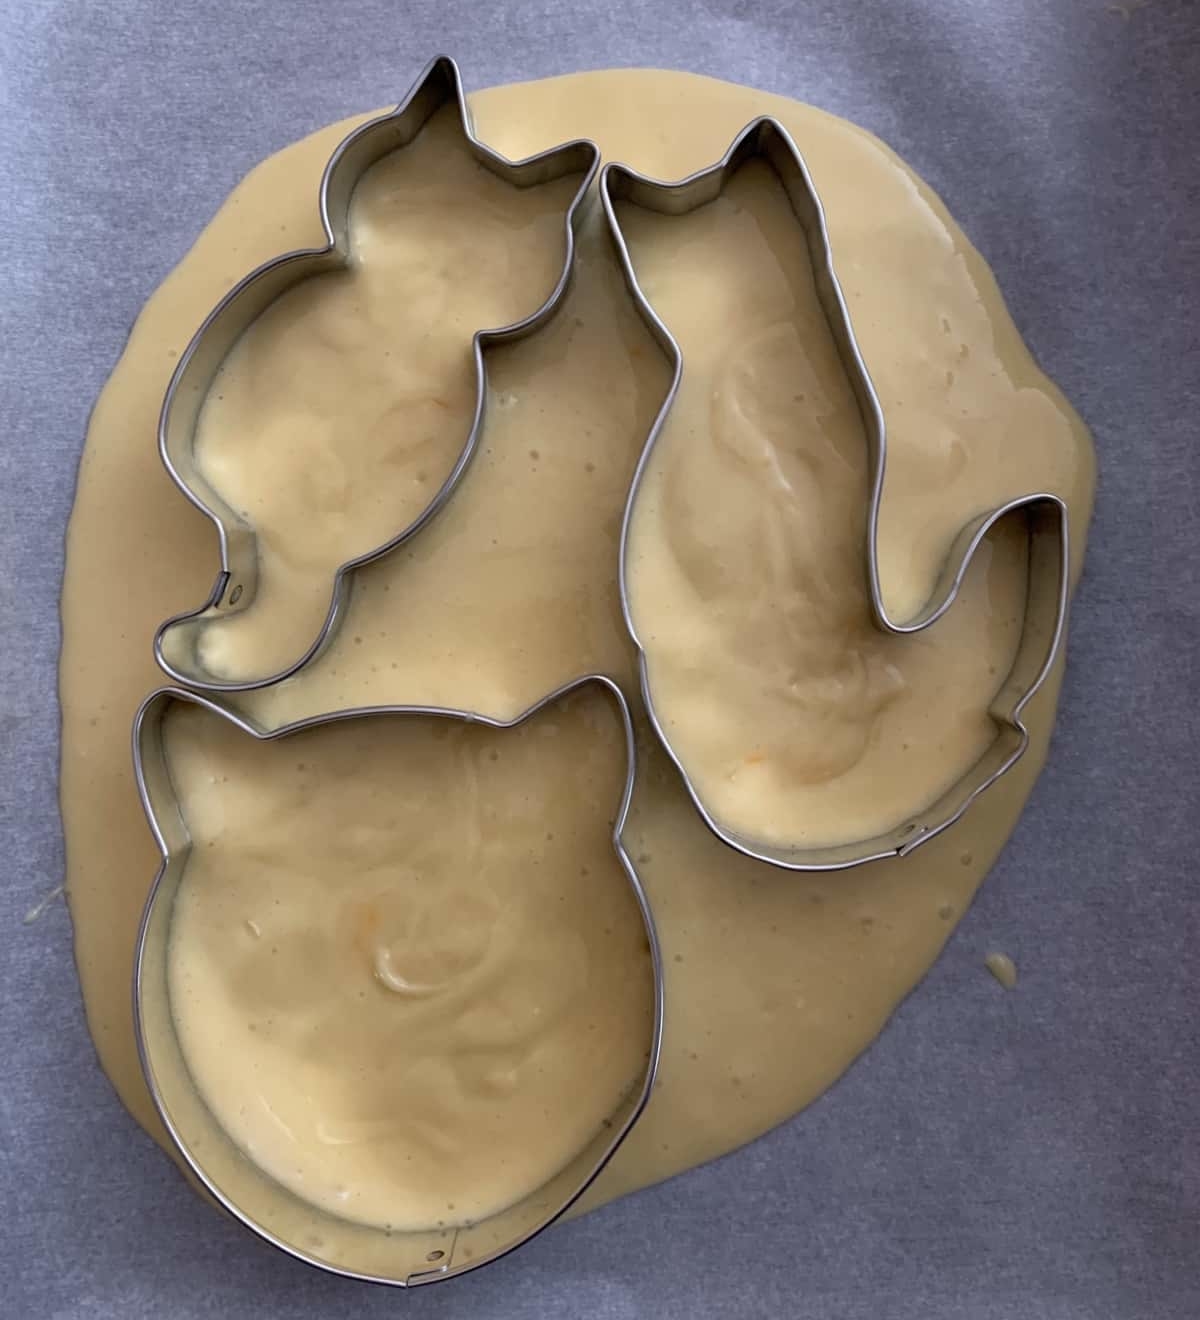
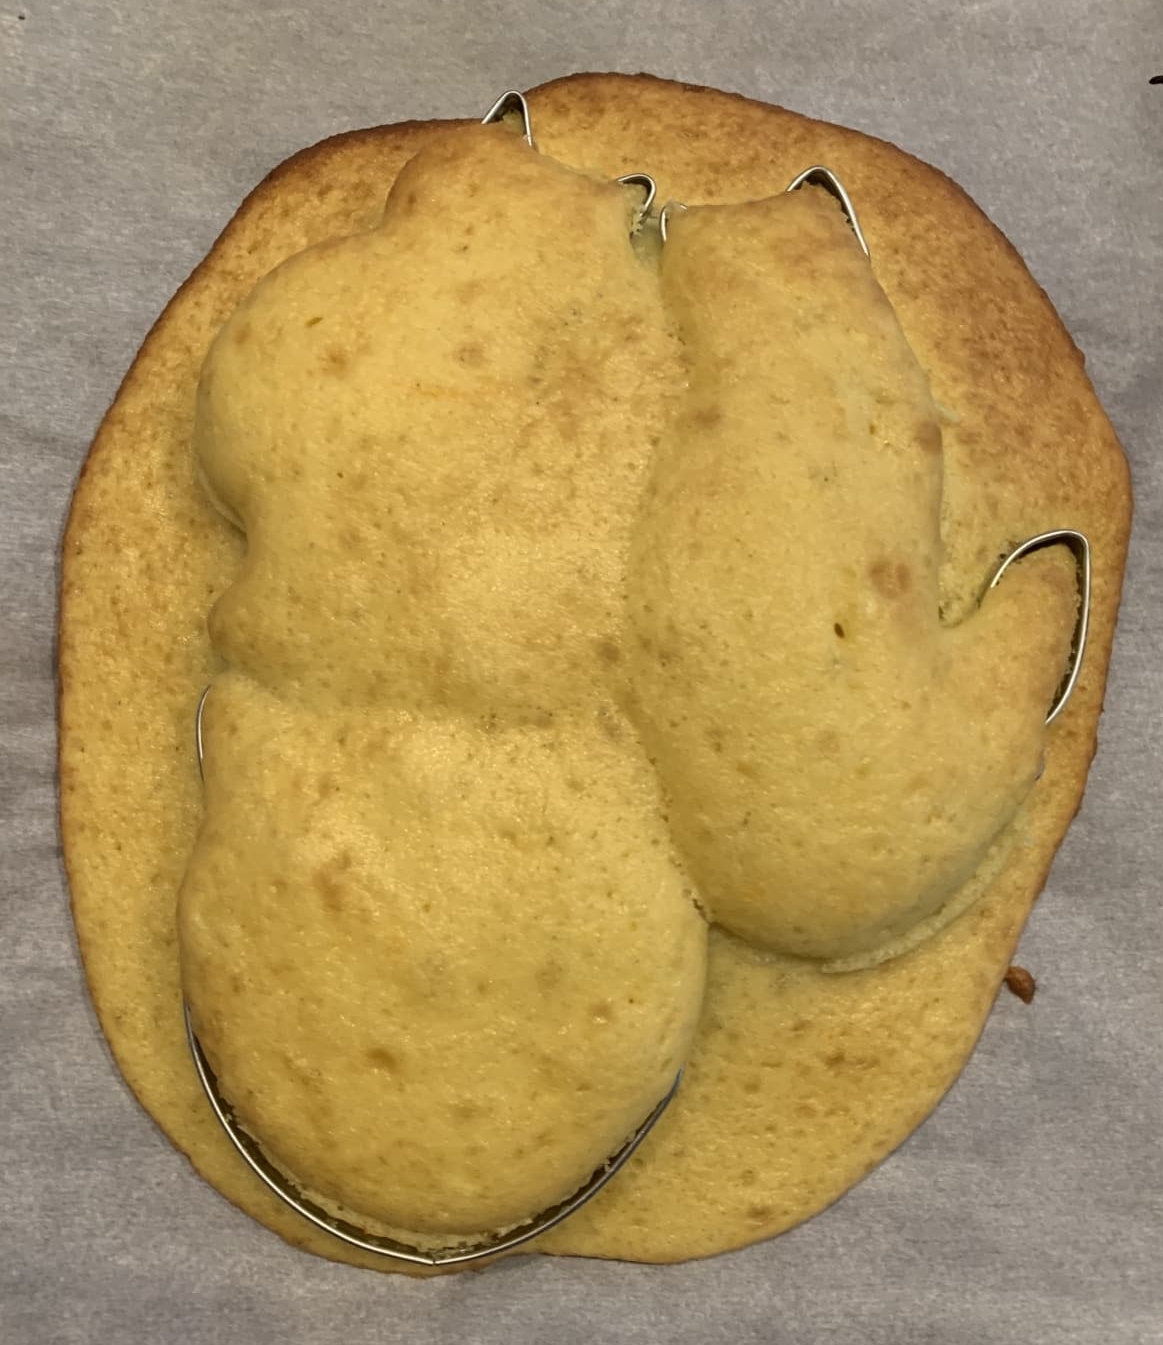
- Lay the cookie cutters on the pan
- Fill the cookie cutters to about 1/3 full – the batter puffs up significantly during cooking
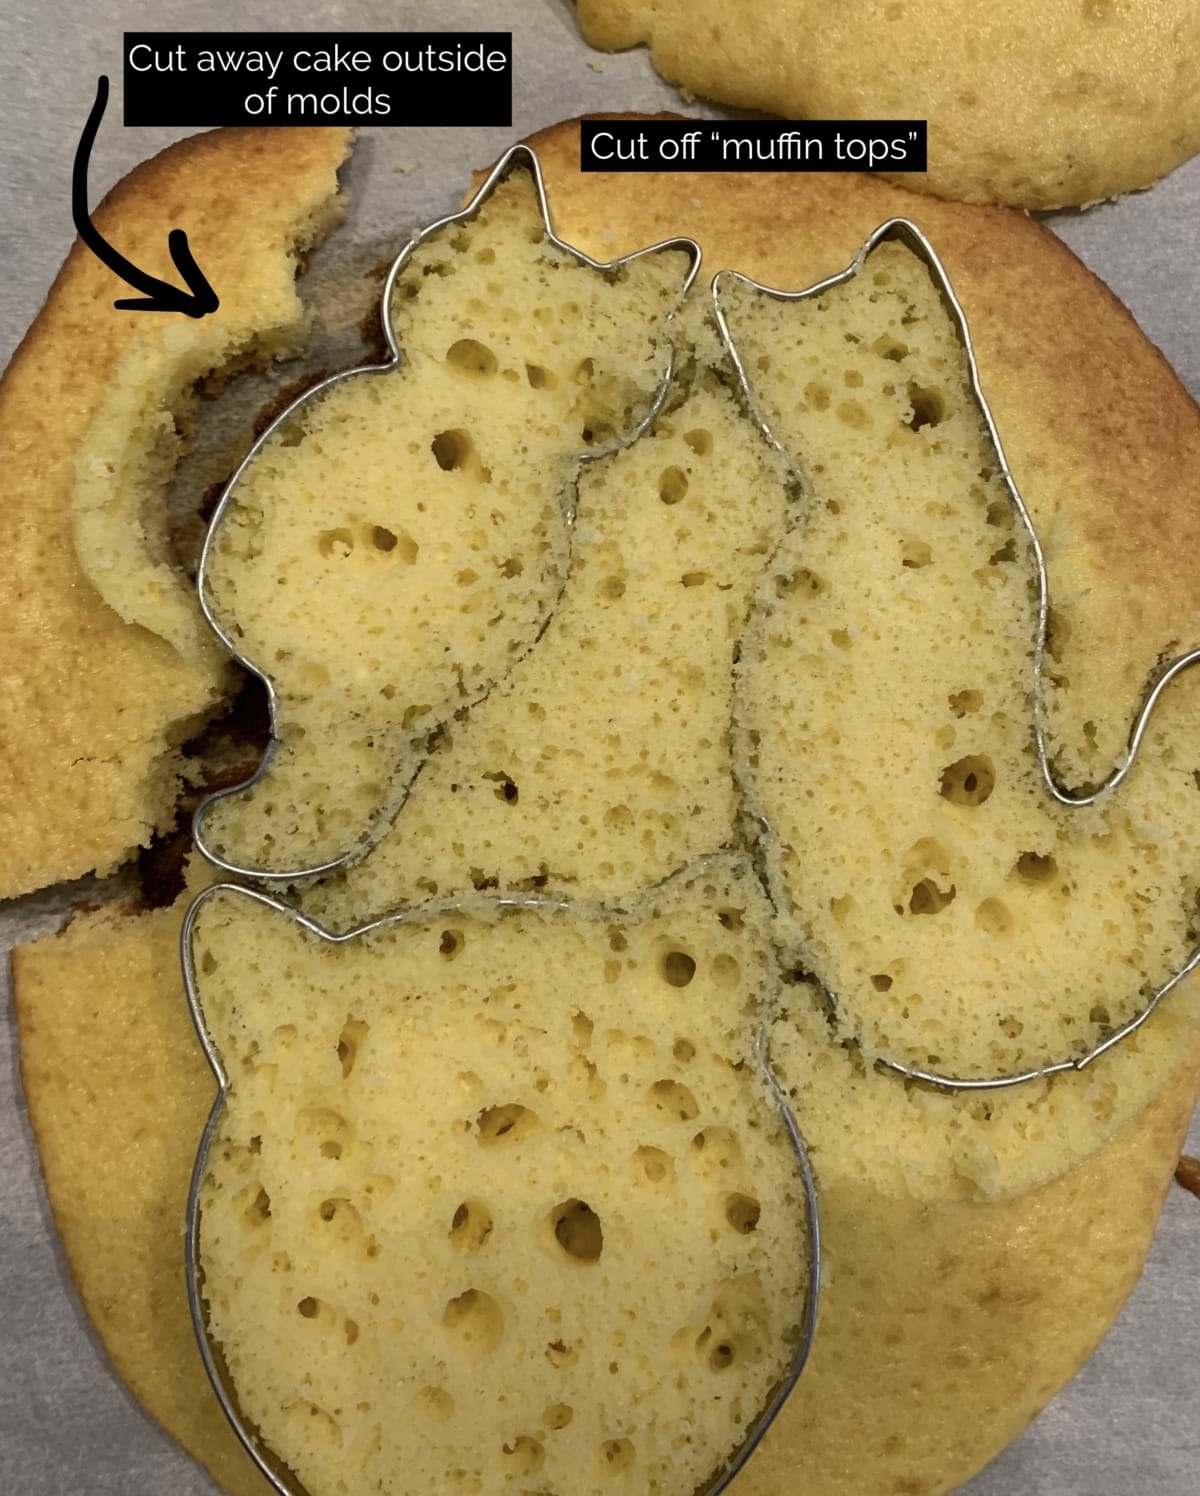
- Don’t worry about the batter outside of the cookie cutters, you’ll cut that away later
- Bake according to directions, but keep an eye on the cakes so that they don’t burn
- Let cool completely
- If the cakes are overflowing (like ours) use a sharp knife to run it parallel to your working surface and cut off the “muffin tops.” Use the cookie cutter as a guide by keeping your knife flush to the cutter for a clean cut.
- Next, use a small paring knife and run along both the inside and outside of each cookie tin
- Remove the mini cakes from the tins and place on a plate to decorate. If the mini cakes have a lot of detail (tail, ears, etc.) you likely won’t be able to move the cakes after decorating without them falling apart… so decorate them on a plate or dish that you intend to serve them on.
- Ice the mini cakes with chocolate icing
- Decorate with eyes, pink icing “heart” nose (or candy heart nose), add licorice whiskers and sprinkles

Now for the fun part – decorating the cupcakes!
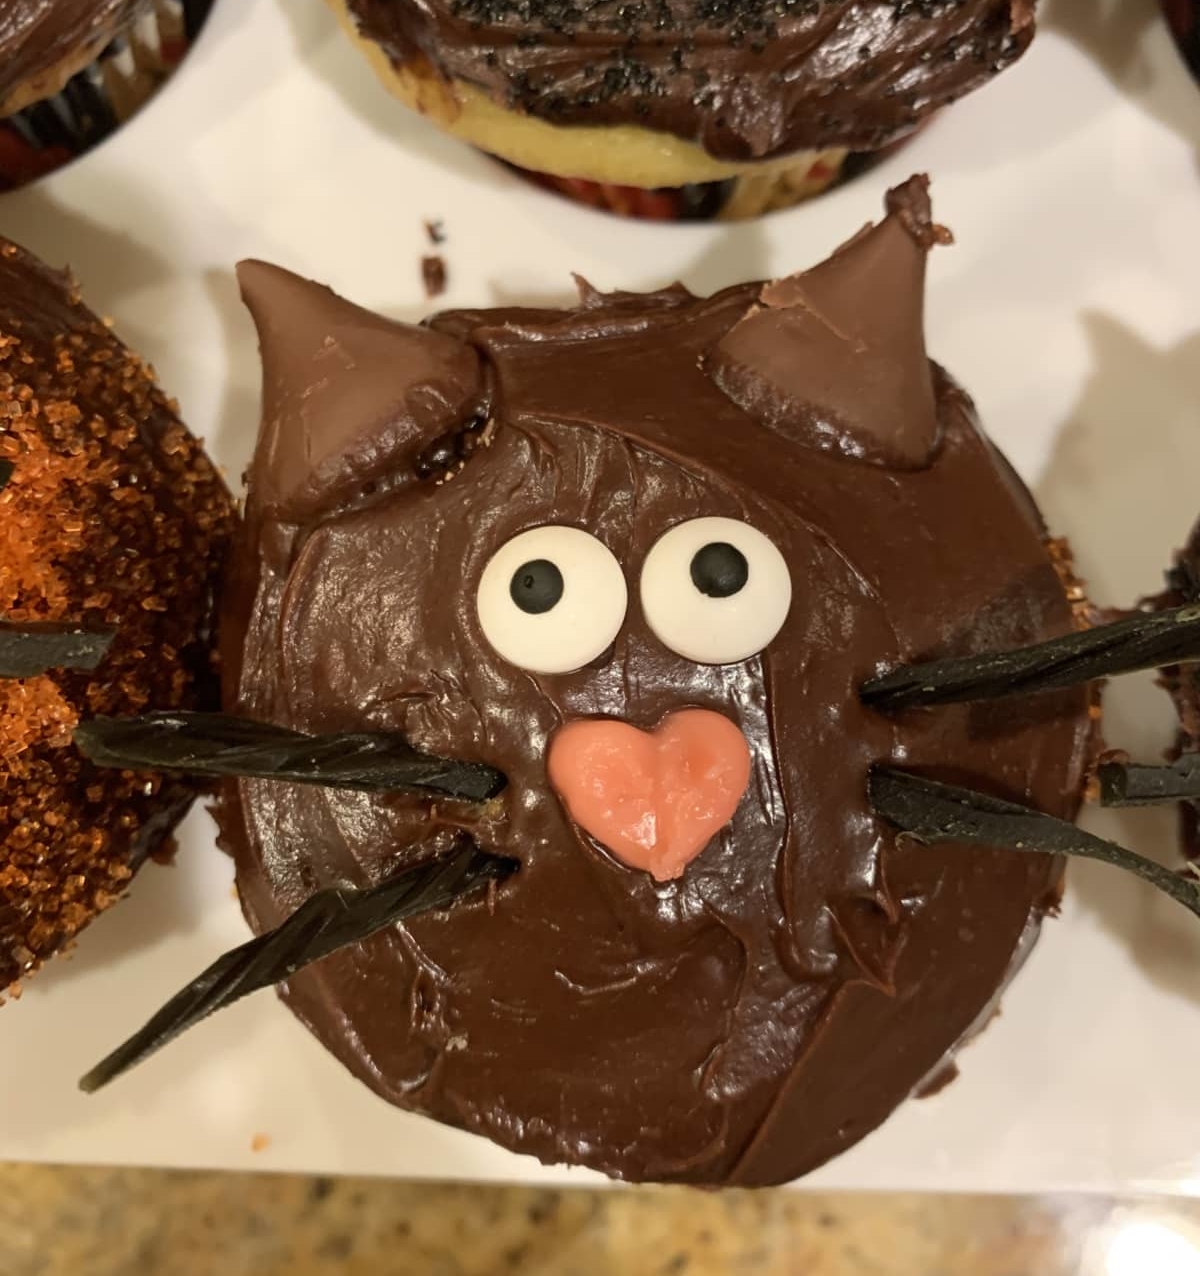
Everything is baked, cooled and ready to go! It’s time to start decorating your halloween cat cupcakes!
- Place the eyes on first. If the icing has hardened, use a little more to stick them on. We recommend putting the eyes on immediately after icing.
- Next, use the pink icing to make a nose. Admittedly, this wasn’t as easy as we thought it would be. If you can find pink candy hearts, use those instead.
- Put Hershey kisses at the top of the cupcake for ears. We tried cutting the kisses and using them whole. It’s easiest to use them whole.
- Cut the licorice into thin strips about 1.5″ long to represent the whiskers. We used a kitchen scissor to cut the licorice.
- Optional – If you’re adding sugar sprinkles, go ahead an add them onto the finished cupcake.
- Take a picture of your meowsterpiece!
- Enjoy!
What do you think?

We tried all sorts of combinations for these halloween cat cupcakes: small eyes, large eyes, small nose, large nose. And while some of these cats look more like owls – we’re okay with it because we had so much fun making them and the cupcake eaters LOVED them!!
Have another fun project or suggestions? Let us know in the comments!
The Catnip Times is a participant in the Amazon Services LLC Associates Program, an affiliate advertising program designed to provide a means for sites to earn advertising fees by advertising and linking to Amazon.com.
The post Halloween Cat Cupcakes appeared first on The Catnip Times.


Post a Comment